I’ll never forget the first time I walked into my friend’s apartment and felt like I’d stepped into a magazine spread. Every wall told a story, and suddenly my own bare walls seemed painfully boring. That’s when I realized wall decor isn’t just about filling space, it’s about creating moments that make you smile when you walk into a room.
So how do you turn blank walls into something special without breaking the bank or your sanity? After helping over a dozen friends decorate their spaces and making plenty of mistakes in my own home, I’ve found 15 ideas that actually work in real houses with real budgets. The best part? Most take less than an afternoon to pull off.
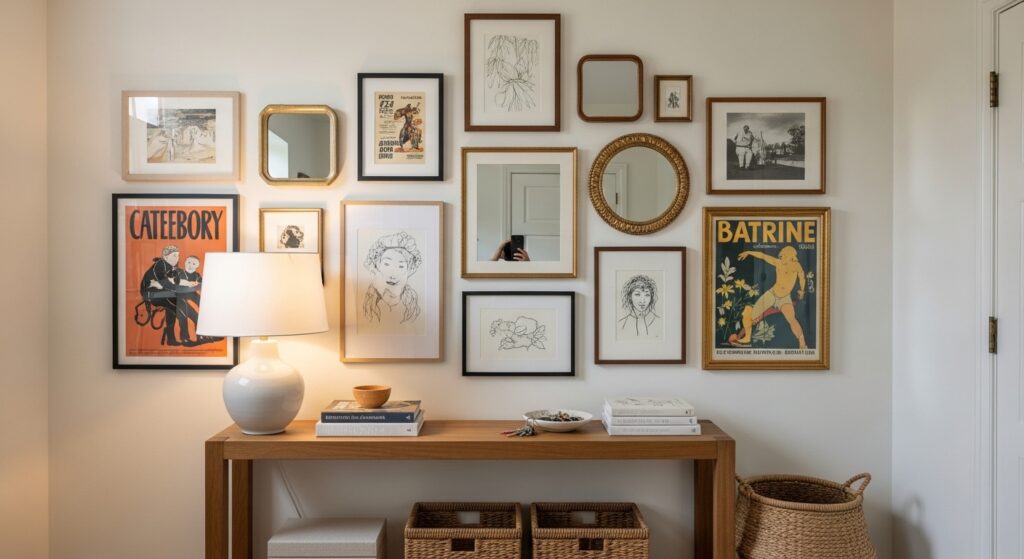
Gallery Walls That Don’t Look Like a Hot Mess
My first attempt at a gallery wall looked like a kindergartener’s art project gone wrong. Everything was crooked, the spacing was uneven, and nothing flowed together. Then I discovered the magic of paper templates. Here’s how I finally got it right.
First, I cut newspaper into the sizes of all my frames and taped them to the wall with painter’s tape. This let me rearrange everything a dozen times without putting unnecessary holes in the wall. Once I liked the layout, I measured the exact spacing between each piece (I stick to 2-3 inches for consistency) and marked where the nails should go.
The key is mixing frame sizes and orientations while keeping one element consistent, like all black frames or all natural wood tones. I included a mix of family photos, vintage postcards from my travels, and a few affordable prints from Etsy artists. The final touch? One unexpected item like a small wreath or decorative plate to break up the rectangles.
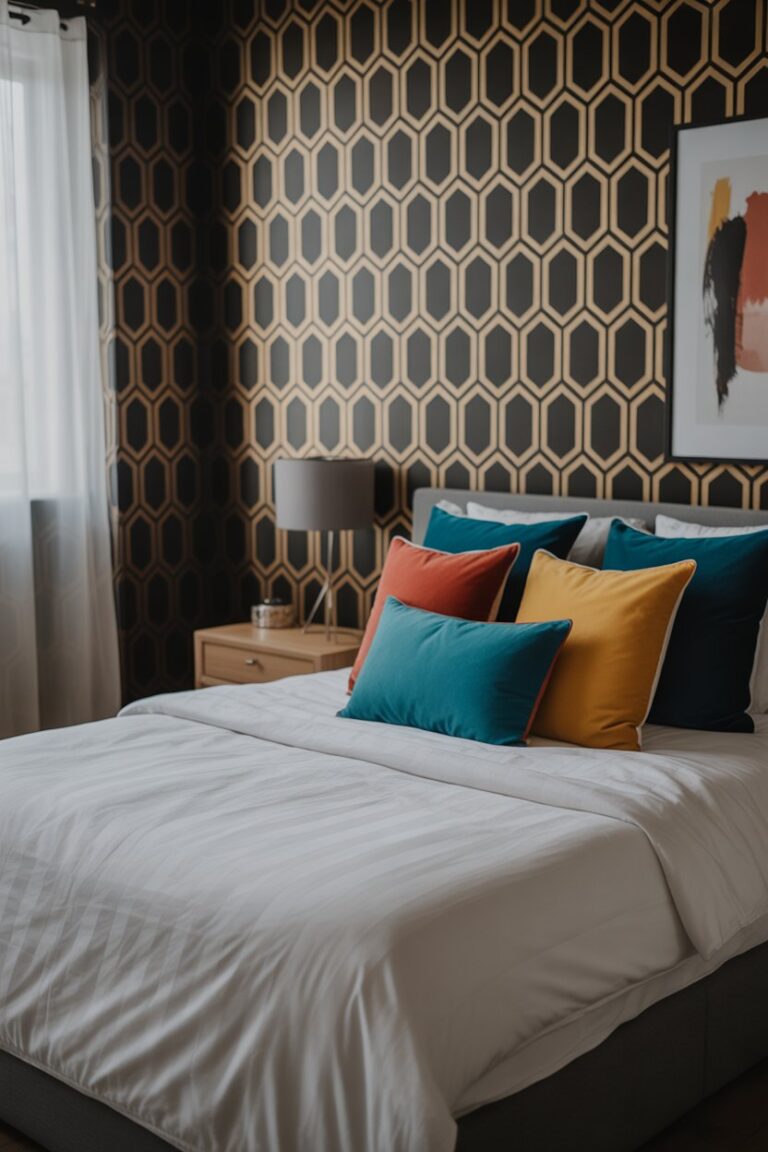
Removable Wallpaper That Won’t Destroy Your Walls
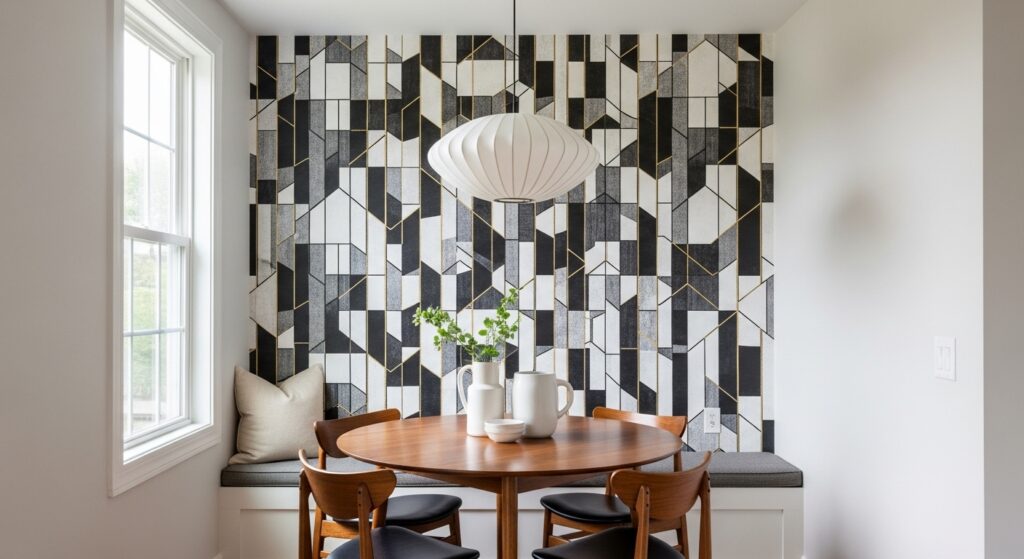
When I rented my first apartment, I thought peel-and-stick wallpaper was too good to be true. Then I tried applying some bargain bin brand that took half my paint with it when I moved out. After that disaster, I became obsessed with finding options that actually work.
Tempaper’s removable wallpaper changed everything for me. The secret is in the prep work, I always wipe down walls with rubbing alcohol first to remove any grease or dust. Starting from the top and working down with a plastic smoother prevents bubbles better than any fancy tool. In my bedroom, I used just one accent wall with a subtle geometric pattern that made the whole room feel designed rather than decorated.
When it came time to move, the wallpaper peeled off in perfect sheets without damaging the walls. My landlord never even knew it was there, though my security deposit definitely noticed the difference from my earlier attempts.
Floating Shelves That Actually Hold Stuff
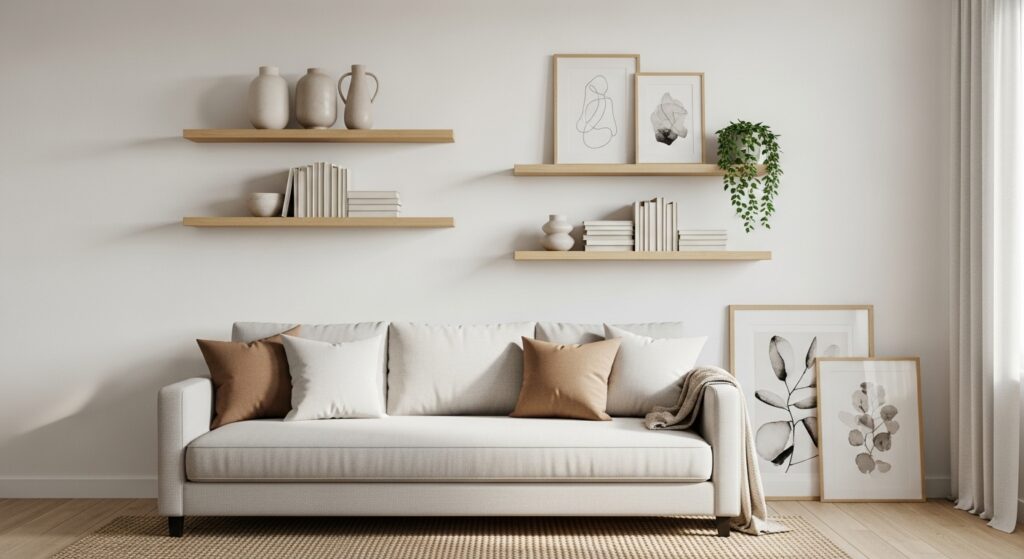
I used to think floating shelves were just for show until I overloaded one with books and watched it come crashing down at 3 AM. Now I know how to install them properly so they’re both pretty and practical.
The trick is finding the studs, not just guessing where they might be like I did the first time. I use a stud finder (after learning how to calibrate it properly, another story) and mark the spots with painter’s tape. For heavier items, I opt for shelves with hidden brackets that screw directly into multiple studs.
In my living room, I installed three staggered shelves that display plants, favorite books, and small art pieces. The secret to making them look curated rather than cluttered? Leaving some empty space between items and varying heights. One shelf holds just a single beautiful bowl, while another has a small stack of books with a plant on top.
DIY Textured Walls Without the Plaster Mess
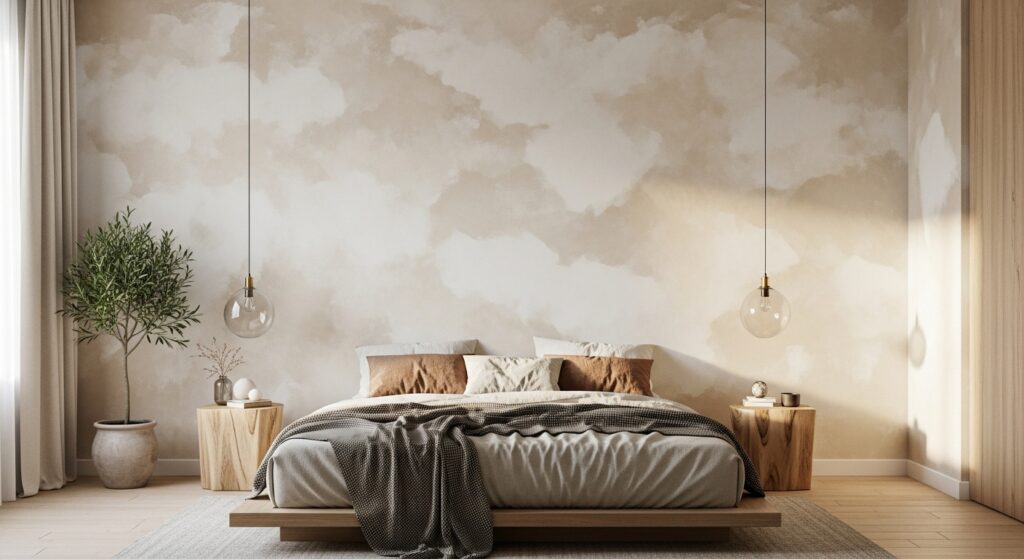
When I saw textured walls in a fancy hotel, I assumed it was way beyond my skill level. Then I discovered joint compound and realized I could create the look myself without professional help.
In my hallway, I experimented with a small section first, applying joint compound with a trowel and creating subtle swoops and peaks. After it dried, I painted over it with a warm white that catches the light beautifully. The texture adds depth without making the space feel busy, and total cost was under $30 for materials.
For renters or the commitment-averse, there are even peel-and-stick textured wall panels now that create a similar effect without the permanent changes. I tried these in my bathroom and was shocked at how realistic the faux plaster looked.
Final Thoughts: Start Small and Have Fun
The best wall decor evolves over time rather than happening all at once. My living room took three years to feel “finished,” and even now I still swap things out occasionally. Start with one wall or one project that excites you, maybe a small gallery wall by your desk or some removable wallpaper in the bathroom.
Remember that your walls should tell your story, not someone else’s. That weird thrift store painting you love? Hang it proudly. The collection of coffee bags from your favorite shops? Frame them. When I stopped worrying about what was “correct” and started decorating with what made me happy, my house finally started feeling like home.
The easiest place to begin? Pick up some Command strips and finally hang those prints that have been leaning against your wall for months. Your future self will thank you every time you walk into the room.