Let me tell you about the first time I tried to paint an IKEA Malm dresser. Armed with a cheap brush and a can of B&Q’s finest emulsion, I thought, “How hard can it be?” Turns out, very. Two days later, I had a sticky, peeling mess that looked like it had been attacked by a toddler with a paintbrush.
If you’ve ever stared at your IKEA furniture and thought, “It’s functional, but it’s so… beige,” this guide is for you. I’ve made every mistake so you don’t have to. Whether you’re giving a Billy bookcase a new lease of life or turning a Kallax unit into a statement piece, I’ll walk you through the right way to do it, without the fluff, filler, or fake “hacks” that don’t work.
1. Why Paint IKEA Furniture? (And When to Just Buy a New One)
The Good: Why Bother Painting IKEA Stuff?
IKEA furniture is everywhere in UK homes, it’s affordable, practical, and modular. But after a few years, that shiny white finish starts looking tired, scratched, or just plain boring. Painting it is cheaper than replacing it, and if you do it right, you can make it look like a high-end custom piece.
Last year, I transformed a £40 Ivar shelving unit into something that looked straight out of a fancy Shoreditch boutique. Total cost? £25 for paint and supplies. The satisfaction? Priceless.
The Bad: When Painting Isn’t Worth It
Not all IKEA furniture is created equal. Some pieces are made from particleboard with a thin laminate coating, and if that laminate is peeling, no amount of paint will fix it. I learned this the hard way with a Linnmon table, the edges started chipping within weeks.
Laminate vs. Solid Wood:
- Good candidates: Ivar (solid pine), Hemnes (wood veneer), even some Bestå units if prepped properly.
- Bad candidates: Anything with a glossy, plasticky finish (like most Lack tables).
The Ugly: When to Walk Away
If your furniture is:
- Wobbly (fix the structure first)
- Water-damaged (paint won’t hide warping)
- Made of that weird foil-like laminate (looking at you, Malm)
…it might be time for a trip to IKEA instead.
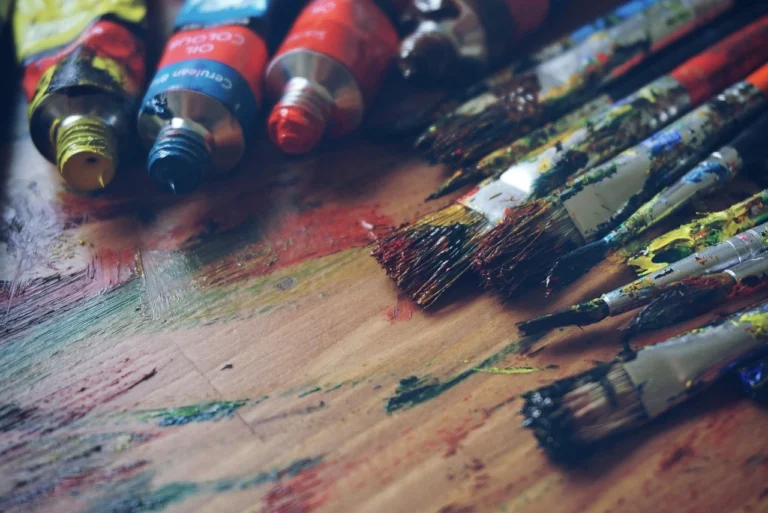
2. The Absolute Must-Have Supplies
The Non-Negotiables
I once tried to skip primer because I was impatient. The paint started flaking within a week. Don’t be like me. Here’s what you actually need:
- Sandpaper (120-220 grit) – Even if the IKEA gods say “no sanding needed,” do it anyway. A quick scuff helps paint stick.
- Primer (Zinsser BIN or Bullseye 123) – The best for laminate. Water-based primers are easier to clean but don’t stick as well.
- Paint (Chalk, acrylic, or furniture paint) – More on this later.
- Brushes & rollers – A good synthetic brush (Purdy or Hamilton) and a foam roller for smooth finishes.
- Painter’s tape (FrogTape is my go-to) – Unless you enjoy scraping paint off your floor.
- Topcoat (Polyurethane or wax) – Protects your work from scratches and sticky fingers.
Where to Buy in the UK
- B&Q / Homebase – Good for basic supplies.
- Screwfix – Cheaper for trade-quality primers.
- Johnstone’s Decorator Centres – Best for pro-grade paint.
- Amazon UK – Convenient for brushes and tape.
Pro tip: I once bought a £2 brush from Wilko. It shed bristles into the paint. Never again.
3. Step-by-Step: How to Paint IKEA Furniture Properly
Step 1: Take It Apart (If You Can)
I skipped this with a Kallax unit once. The corners were a nightmare to paint evenly. Now, I always disassemble, it’s worth the extra effort.
Step 2: Clean It Properly
IKEA furniture collects grease (especially in kitchens) and dust. A mix of sugar soap and warm water works best. If you skip this, the paint won’t stick.
Step 3: Sand Lightly (Yes, Really)
Even if the surface feels smooth, a quick sanding (120 grit) helps the primer grip. No need to go wild, just enough to rough it up slightly.
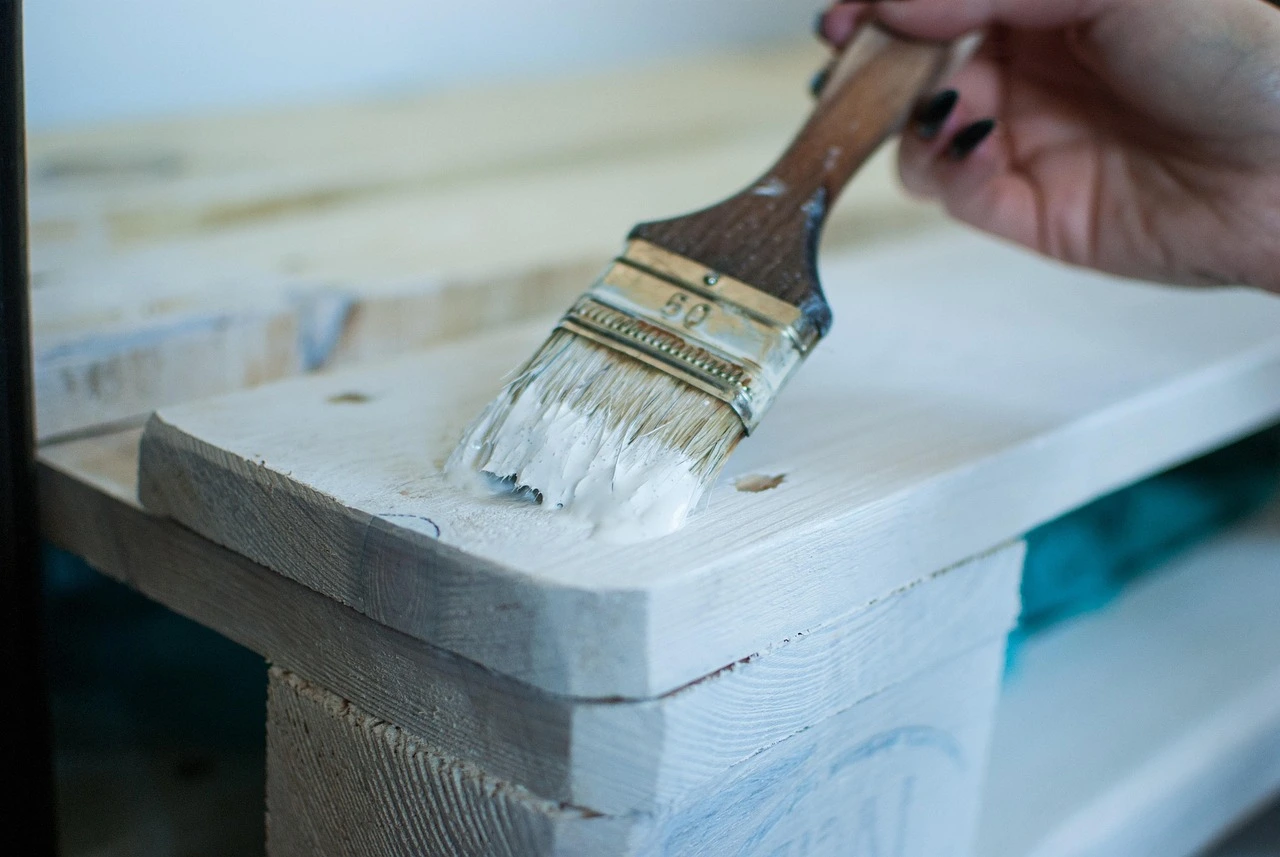
Step 4: Prime Like Your Paint Job Depends on It (Because It Does)
- Laminate? Use Zinsser BIN (shellac-based, sticks to anything).
- Solid wood? A water-based primer is fine.
- Spray primer? Great for hard-to-reach spots.
I once tried to paint a glossy Bestå unit without primer. It peeled like a bad sunburn.
Step 5: Paint in Thin Layers
- First coat: Will look patchy. That’s normal.
- Second coat: Wait at least 4 hours (overnight is better).
- Third coat? Only if needed.
Pro mistake I made: Painting in high humidity. The finish stayed tacky for days.
Step 6: Seal It (Unless You Like Scratches)
- Matte finish? Try a water-based polyurethane.
- Chalk paint? Wax works but needs reapplication.
- High-traffic areas? Go for a tough varnish.
4. Best Paints for IKEA Furniture (UK Available)
1. Chalk Paint (Annie Sloan, Rust-Oleum)
- Pros: No sanding needed, matte vintage look.
- Cons: Needs wax or topcoat, can be pricey.
- Best for: Shabby-chic styles, dressers, cabinets.
2. Acrylic Eggshell (Johnstone’s, Dulux)
- Pros: Durable, easy to clean, water-based.
- Cons: Needs primer on laminate.
- Best for: Kids’ furniture, bookshelves.
3. Spray Paint (Montana Gold, Plastikote)
- Pros: Super smooth finish, no brush marks.
- Cons: Hard to control indoors, fumes.
- Best for: Small items, legs, hardware.
Paints to Avoid
- Emulsion (wall paint) – Not durable.
- Oil-based (unless you love fumes) – Takes forever to dry.
5. Creative Upgrades (Beyond Just Paint)
Two-Tone Finishes
I painted a Kallax unit dark blue on the outside and white inside, looked way more expensive than it was.
New Hardware
Swapping IKEA’s basic knobs for Anthropologie-style pulls makes a huge difference.
Stencils & Decals
A stenciled pattern on a Lack table can hide scratches and add personality.
Final Thoughts
Painting IKEA furniture isn’t hard, if you prep properly. The difference between a DIY disaster and a pro-looking piece? Primer, patience, and good paint.
Now, go grab that sander and give your IKEA furniture the glow-up it deserves. And if you end up painting everything in sight (like I did), just blame me.
(Side note: My wife still hasn’t forgiven me for the neon pink coffee table incident.)