Have you ever stepped into a bathroom and thought, “Wow, this could use some serious work”? Well, you’re not alone. I’ve been there too, looking at outdated tiles and realizing the space needs a complete makeover. But here’s the good news: You can totally upgrade your bathroom by designing it to fit your style and laying tiles in a way that not only makes it look great but also maximizes its functionality. I’ll walk you through everything I learned about bathroom design and tile-laying to make sure you can do it like a pro, without making a huge mess.
If you’ve ever wondered how to design a bathroom and install tiles that elevate the space, let’s dive into it. The best part? You don’t have to be a designer or contractor to make it work. With the right steps and a little patience, you’ll have a bathroom that’s stylish, functional, and exactly how you envisioned it.
Why Bathroom Design and Tile Selection Matter
When I decided to redo my bathroom, the first thing I realized was that bathroom design goes far beyond picking pretty tiles. The layout, the lighting, the color scheme, and even the kind of tile you choose can completely change how the space feels. I found that good design maximizes small spaces, making them feel larger and more open.
Laying tiles properly is also essential for durability and cleanliness. While selecting the tile itself is an exciting part of the process, how you place them is just as important. When I first started thinking about tile layout, I made a list of questions: Do I want square or rectangular tiles? Should I choose a textured finish or a smooth one? These small decisions shape the entire look and feel of the bathroom.
Step 1: Plan Your Bathroom Layout
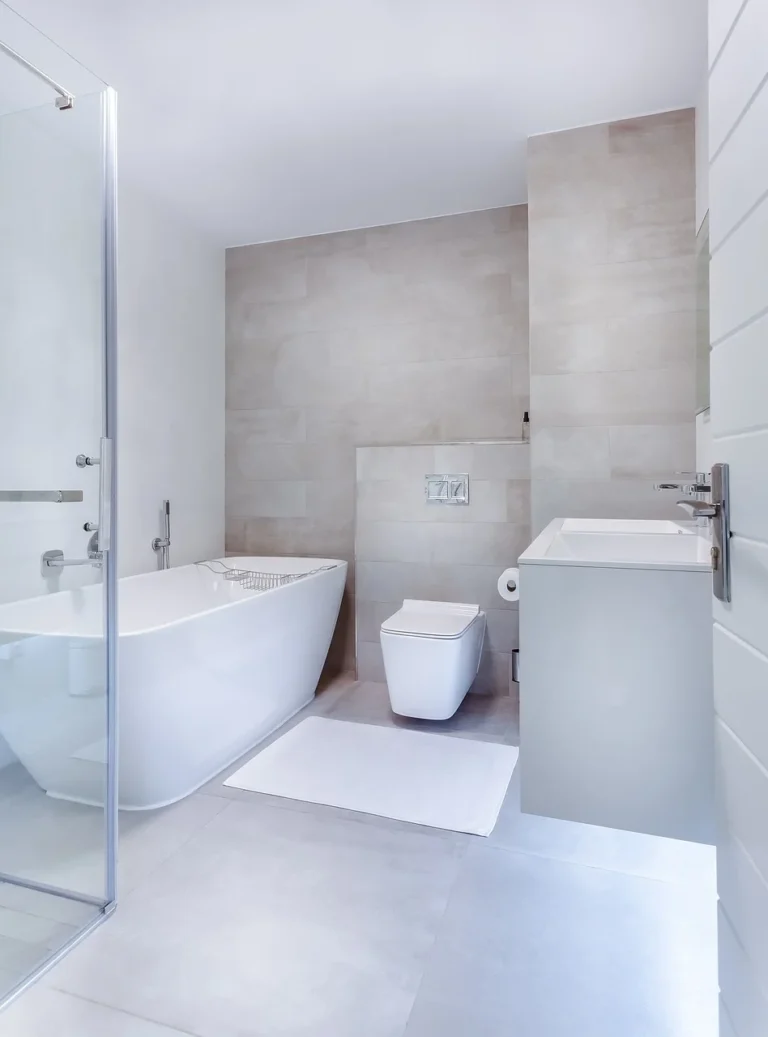
Before I even thought about picking tiles, I spent time planning my bathroom layout. If you have a small space, you’ll want to consider how your bathroom will function with the new tiles. My bathroom is small, so I needed a design that would make it look bigger and brighter. I decided on large, light-colored tiles that reflect light and give the illusion of more space.
I also considered where the main fixtures like the sink, toilet, and shower were located. You don’t want to lay tiles in a way that makes these areas feel cramped. For example, I made sure the tiles flowed evenly around the shower area and the toilet, giving everything a balanced look.
Step 2: Choose the Right Tiles for Your Bathroom Design
Choosing the right tiles can feel overwhelming because there are so many options out there. From porcelain to ceramic, marble to glass, the options are endless. I spent a lot of time narrowing down what would work best for my bathroom.
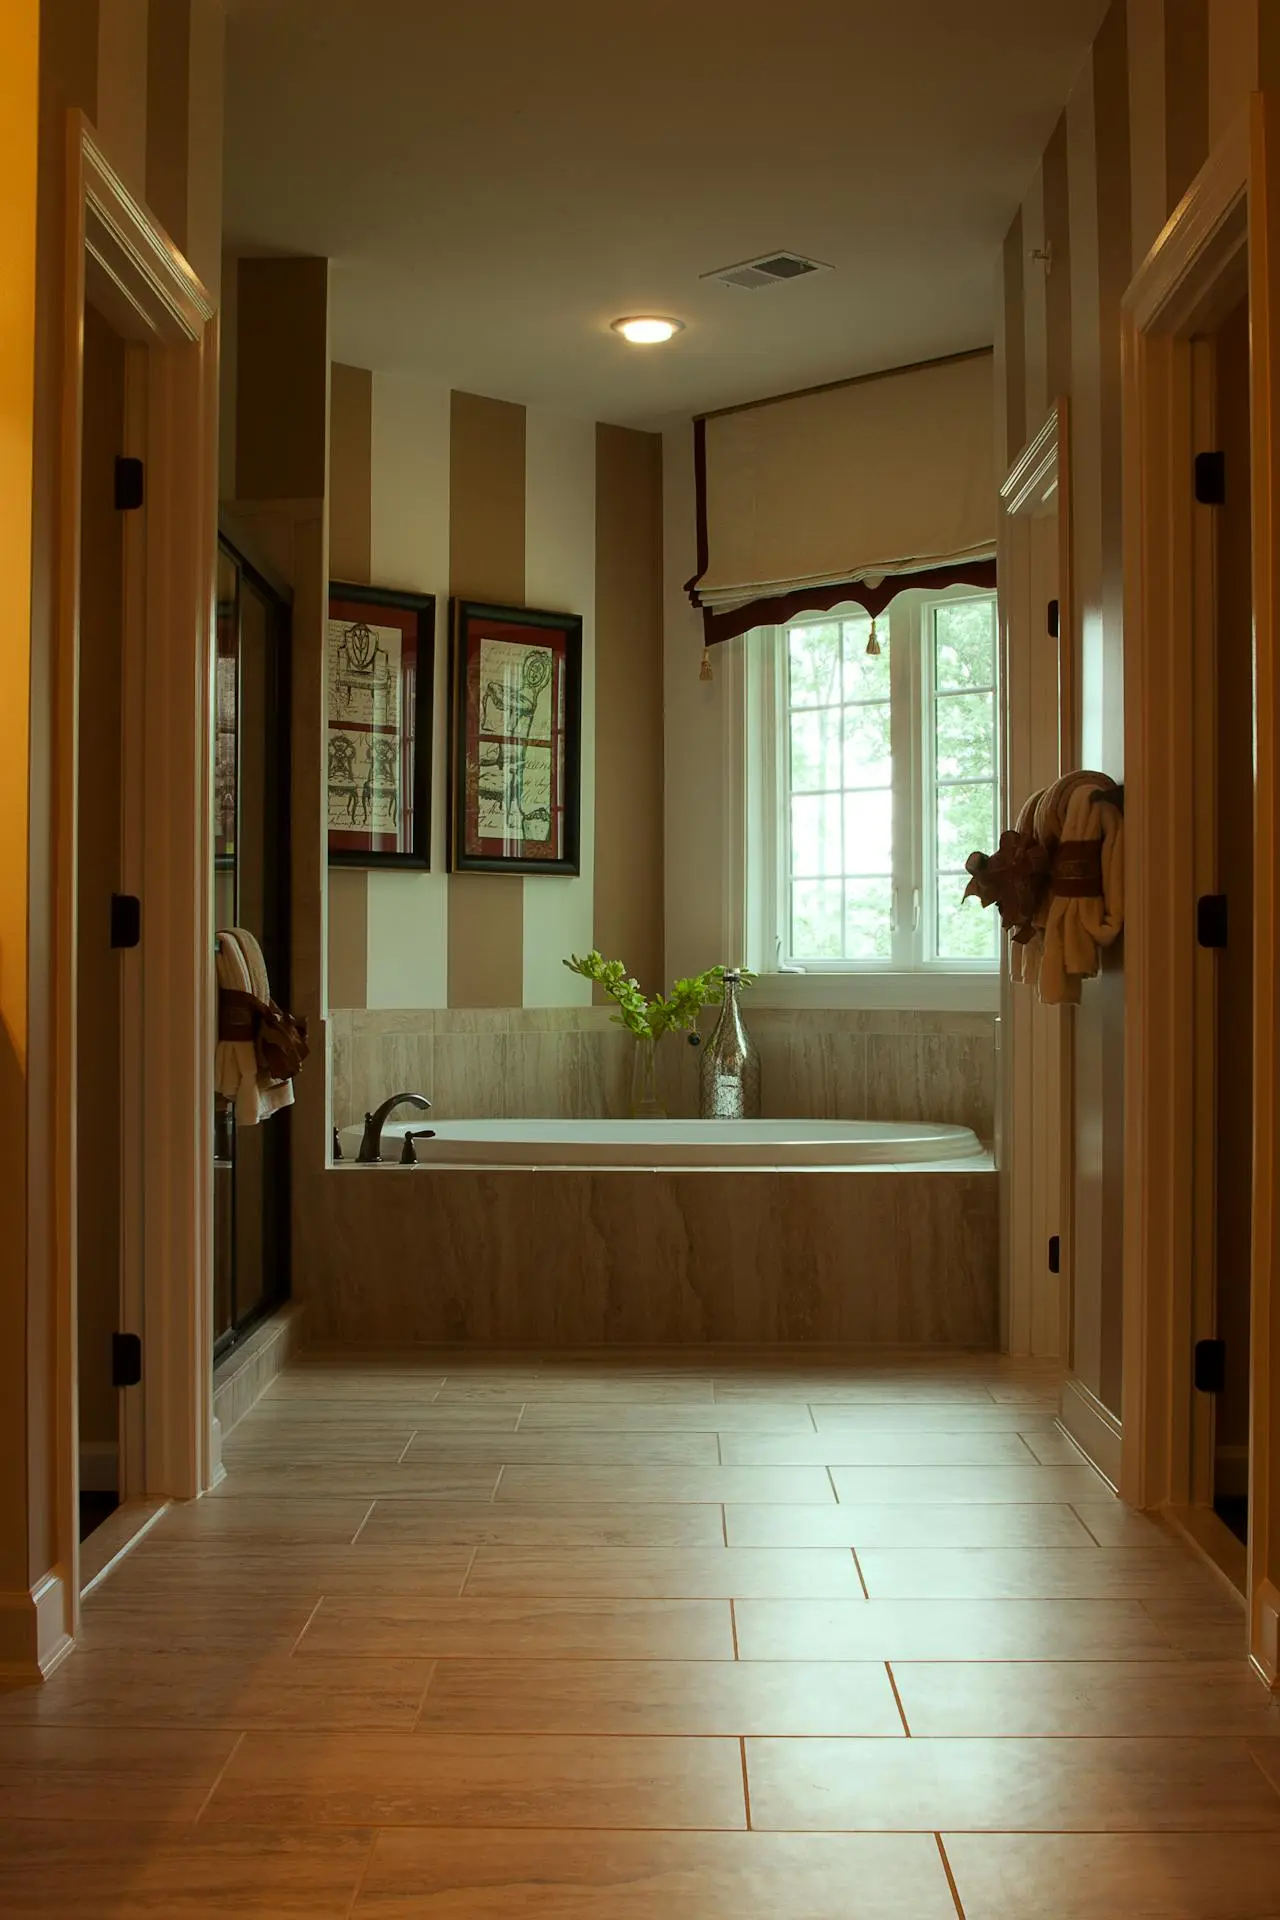
First, I thought about the texture. Smooth tiles are easy to clean and make a space feel sleek, but textured tiles add dimension. I ended up going with matte, large-format porcelain tiles for the floor, which are easy to maintain and give a modern look. For the walls, I picked smaller subway tiles, which gave the space a bit of a classic vibe while staying easy to clean.
I also considered tile color. Dark tiles can make a space feel cozy but also make it look smaller, so I went with light-colored tiles to brighten things up. If you’re working with a bigger bathroom, dark tiles can create a dramatic effect, so it’s all about balancing the space.
Step 3: How to Lay Tiles in Your Bathroom
Now, let’s talk about laying the tiles. When I started, I realized there was more to it than just sticking them to the wall or floor. You need to make sure each tile is level and aligned, or you’ll end up with a crooked, messy look.
I started with the floor tiles. To get a straight line, I used a chalk line (it’s like a fancy string that marks where your tiles should go). This simple tool saved me time and helped me avoid uneven rows. Next, I used a notched trowel to spread thin-set mortar on the floor and pressed each tile firmly into place.
For wall tiles, I followed a similar method. I used a level to ensure the tiles were even. Since the tiles were smaller, I had to use spacers to make sure the grout lines were consistent. I remember how satisfying it was to see the tiles slowly come together as a neat, uniform grid.
One tip I picked up was to work in sections, especially with bigger tiles. It gave me time to fix mistakes before the mortar dried.
Step 4: Grouting and Sealing the Tiles
Once the tiles were laid, I had to grout them. I wasn’t sure how messy it would be, but let me tell you: grout can get everywhere! To apply the grout, I used a rubber float to spread it into the spaces between the tiles. Afterward, I wiped away the excess grout with a damp sponge, being careful not to pull any grout out of the joints.
Grouting made a huge difference in the overall look. It filled in the spaces and helped the tiles stay in place. I also sealed the grout afterward to prevent stains and water from seeping in. This step might seem small, but it adds to the longevity of your bathroom tiles. Trust me, sealing the grout is a step you don’t want to skip.
Step 5: Adding the Finishing Touches to Your Bathroom Design
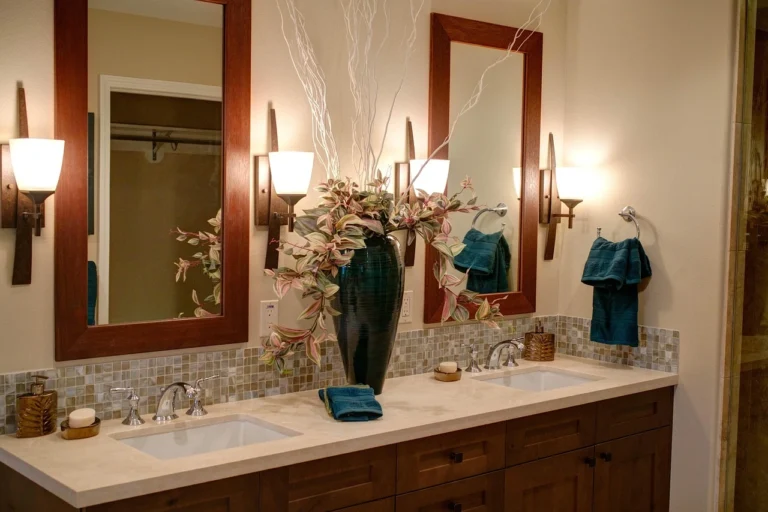
With the tiles all laid down and grouted, I moved on to the final touches. I looked at the design of my bathroom in its entirety, adding in accessories like mirrors, towel racks, and lighting. I learned that choosing the right lighting for your bathroom can highlight the design and make the space feel even more inviting. I decided on bright, white lighting to make everything feel fresh and clean.
I also played around with textures. I added a plush rug to warm up the space and make it feel cozier. Small touches like these can make a big difference in how the bathroom feels.
Common Mistakes to Avoid When Laying Tiles
One mistake I made early on was rushing the layout. I didn’t account for how tiles would line up around the corners of the room, which led to some awkward cuts. If you’re planning your layout, always check how the tiles will line up along the edges. You might have to cut some tiles to fit, but taking the time to plan will save you a lot of frustration later.
Another mistake I made was not leaving enough space for expansion. Tiles can expand and contract with temperature changes, so make sure to leave a small gap around the edges of the room. You can cover this with baseboards or trim to make it look neat.
Final Thoughts on Bathroom Design and Laying Tiles
Designing a bathroom and laying tiles can feel intimidating at first, but once you break it down into manageable steps, it’s totally doable. I was pleasantly surprised at how much of a difference the new tiles made in my bathroom. It’s not just about the tiles themselves but also about the layout, color choices, and the finishing touches that pull everything together.
Whether you’re redesigning an entire bathroom or just replacing old tiles, it’s a project that can be both rewarding and fun. Take your time, plan carefully, and don’t be afraid to make mistakes. The bathroom you dream about is totally within reach!

