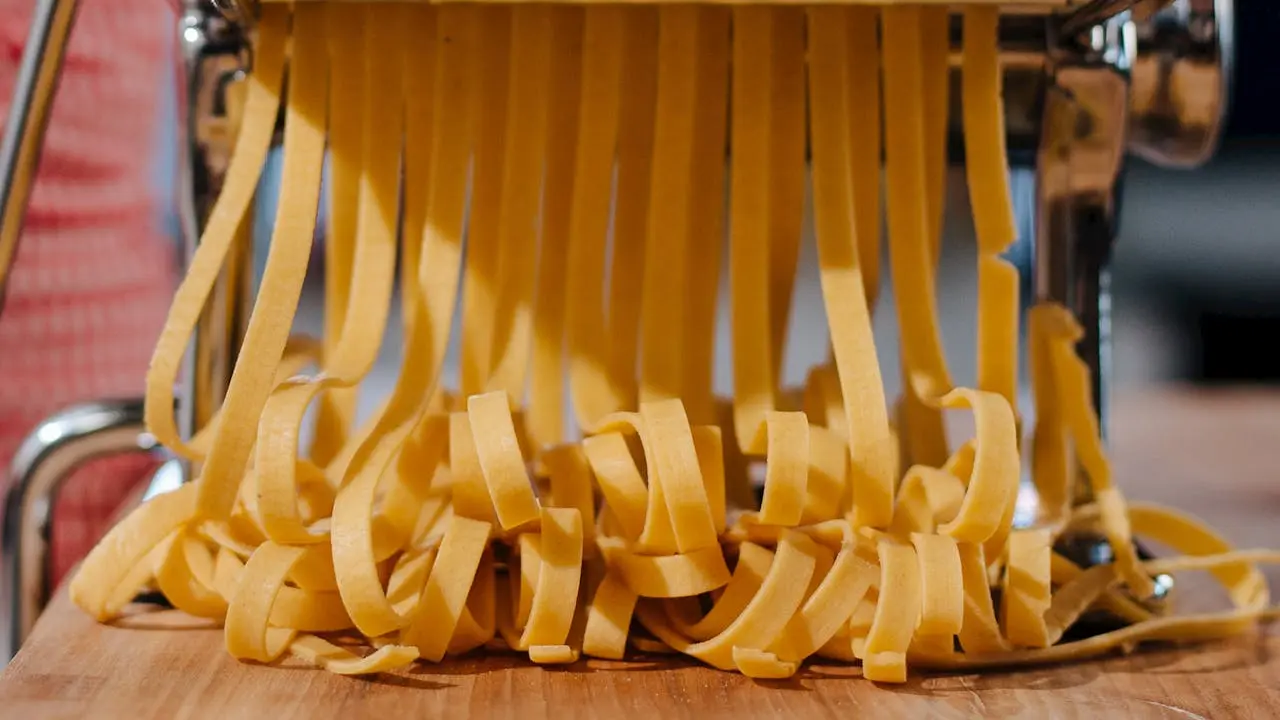
If you’re like me, making fresh pasta is one of the most satisfying kitchen tasks. There’s something magical about transforming simple ingredients into something delicious right from scratch. But if you’ve ever used a pasta maker attachment for your stand mixer, you know the task doesn’t end when you’ve rolled out that perfect batch of noodles. Cleaning your pasta maker attachment might seem like a hassle, but trust me, with the right approach, it’s not as complicated as it seems.
In this article, I’ll walk you through every step of the cleaning process, share a few helpful tips, and even throw in some personal experiences along the way to make sure you feel confident in taking care of your attachment. By the end, you’ll be equipped to clean your pasta maker attachment with ease, so you can get back to making more pasta!
Why Proper Cleaning Is Crucial for Your Pasta Maker Attachment
Before jumping into the how-to, let’s talk about why cleaning your pasta maker attachment matters. I learned the importance of this the hard way, after leaving my attachment uncleaned for a few days, thinking I’d tackle it later. The dried dough became a tough mess to clean, and I regretted not taking the time right away.
Preventing Dough Buildup: After each use, dough can get stuck in the rollers, cutters, and even the gears. If left unchecked, this dough can harden and become a nuisance to remove later. Not only does it make the cleaning process more difficult, but it can also affect the quality of your next batch of pasta.
Extending the Life of the Attachment: Regular cleaning helps to maintain the functionality of your pasta maker. I’ve noticed that my attachment works better and lasts longer because I clean it after every use. Keeping it in tip-top shape means I get more pasta-making sessions out of it.
Ensuring Hygiene: Pasta is food, and as much as we love it, it’s essential to keep our equipment free from leftover dough that can harbor bacteria or mold. Cleanliness goes beyond just aesthetics, it’s about keeping your kitchen and your food safe.
Step-by-Step Guide: How to Clean a Pasta Maker Attachment
Let’s get down to the specifics! Cleaning your pasta maker attachment doesn’t have to be a long, drawn-out process, but there are key steps to ensure you do it right.
1. Let the Attachment Dry
Right after you finish making pasta, resist the urge to clean it right away. First, remove the attachment and allow it to dry for about an hour. This might seem unnecessary, but trust me, dried dough is way easier to remove than soft dough. As it dries, any remaining dough firms up, making it simpler to brush or scrape off.
2. Brush Off the Dried Dough
Once the attachment has dried, grab a stiff-bristled brush (a pastry brush works perfectly for this) and gently sweep away the remaining dough from the rollers and cutters. I find that a small, clean paintbrush or a specialized cleaning brush designed for pasta machines works best. Just make sure to be gentle so you don’t damage the surface or mechanisms. This step is key for removing larger clumps and most debris.
3. Dislodge Stubborn Dough with a Toothpick
Sometimes, despite your best efforts, some stubborn dough bits refuse to come off. In these cases, I use a toothpick or a wooden skewer to carefully dislodge any remaining bits of dough. This works wonders for getting into those tight spots around the gears and rollers. Just avoid using anything sharp like metal tools, as these could scratch or damage the attachment.
4. No Water, Please!
One of the most common mistakes I see when cleaning pasta maker attachments is people trying to wash them with water. While it might seem logical, water can cause rust over time and even leave behind residues that could affect your pasta’s taste. I’ve found that using just a brush, toothpick, and cloth is more than enough to get it clean.
5. Wipe with a Dry Cloth
After you’ve brushed off all the visible dough, take a clean, dry cloth and wipe down the entire attachment. This step is crucial for removing any leftover particles that could still be stuck in hard-to-reach areas. Don’t skip this part!
6. Lubricate (Optional)
Depending on the brand of your pasta maker, some manufacturers recommend adding a drop of mineral oil to the rollers and cutters every once in a while to keep them operating smoothly. I’ve personally done this on my KitchenAid attachment, and it keeps everything running like new. If your attachment doesn’t specifically recommend this, though, it’s fine to skip it.
Common Mistakes to Avoid
After cleaning my pasta maker multiple times, I’ve learned a few things the hard way. Here are some common mistakes I’ve made and that you should avoid:
Using Soap or Water: I once thought a little soap would help. Wrong! Soap can leave a residue that affects the flavor of the pasta. It’s a simple cleaning method: brush it off, wipe it down, and store it dry.
Using Metal Tools: It might be tempting to use a metal tool to scrape off dough or reach difficult areas, but this can cause scratches on the surface, making your attachment more prone to buildup in the future. Stick to wooden or plastic tools.
Forgetting to Let It Dry: I’ve skipped the drying step in a rush before, and it led to clumps of dough that were hard to remove. The extra time drying really does help the cleaning process.
How to Store Your Pasta Maker Attachment
Now that your pasta maker is clean, let’s talk about storing it properly. You don’t want to just throw it in a drawer where it could get damaged or exposed to moisture. Here are my best storage tips:
Keep It Dry: I store my pasta maker attachment in a dry cabinet away from any moisture. A wet or humid environment could cause rust to form on the metal parts, which could destroy the attachment over time.
Use the Original Box or a Cloth Bag: If you still have the box your pasta maker came in, it’s a great way to store it. If not, wrapping it in a cloth bag can protect it from dust and potential damage.
Keep It Separate from Other Kitchen Tools: Avoid throwing it in with other heavy kitchen equipment. The last thing you want is for the attachment to get scratched or bent.
Deep Cleaning Every Few Uses
For those times when a quick brush doesn’t do the trick, deep cleaning may be necessary. I recommend deep cleaning after every 4 to 5 uses, especially if you’ve been making a lot of dough. To do this, I recommend running a piece of dough through the pasta maker with no filling, which helps push out any residual particles. This little trick ensures there’s nothing left hiding inside. Some pasta maker attachments even have detachable parts, which make this task easier.
Conclusion: The Secret to a Long-Lasting Pasta Maker
Cleaning your pasta maker attachment doesn’t have to be difficult, and the more you do it, the easier it becomes. It’s all about keeping things dry, using the right tools, and being consistent.
The best part? A clean pasta maker ensures you can continue making fresh pasta without any hassle. The effort is well worth it, especially when you realize just how much longer your attachment will last with proper care.
Trust me, after a few cleanings, it will become second nature. You’ll find yourself looking forward to your next batch of fresh pasta, and knowing that your pasta maker is ready to go. Enjoy!


