I still remember the first piece of furniture I ever painted, a rickety old bedside table I found at a car boot sale in Manchester. Armed with a cheap brush and a tin of bargain paint, I thought it would be a quick afternoon job. Three days, two sanding mishaps, and one very sticky varnish disaster later, I finally had a finished piece… that chipped within a week.
Turns out, painting furniture isn’t just about slapping on colour. If you want a professional-looking finish that lasts, there’s a method to it. The good news? You don’t need to be a DIY expert. With the right prep, tools, and techniques, even a total beginner can transform a tired old dresser into something that looks straight out of a fancy homeware shop.
In this guide, I’ll walk you through everything I’ve learned from years of trial and error, including the mistakes to avoid (so you don’t end up with a sticky, peeling mess like my first attempt). Whether you’re upcycling a charity shop find or refreshing a family heirloom, this step-by-step method works every time.
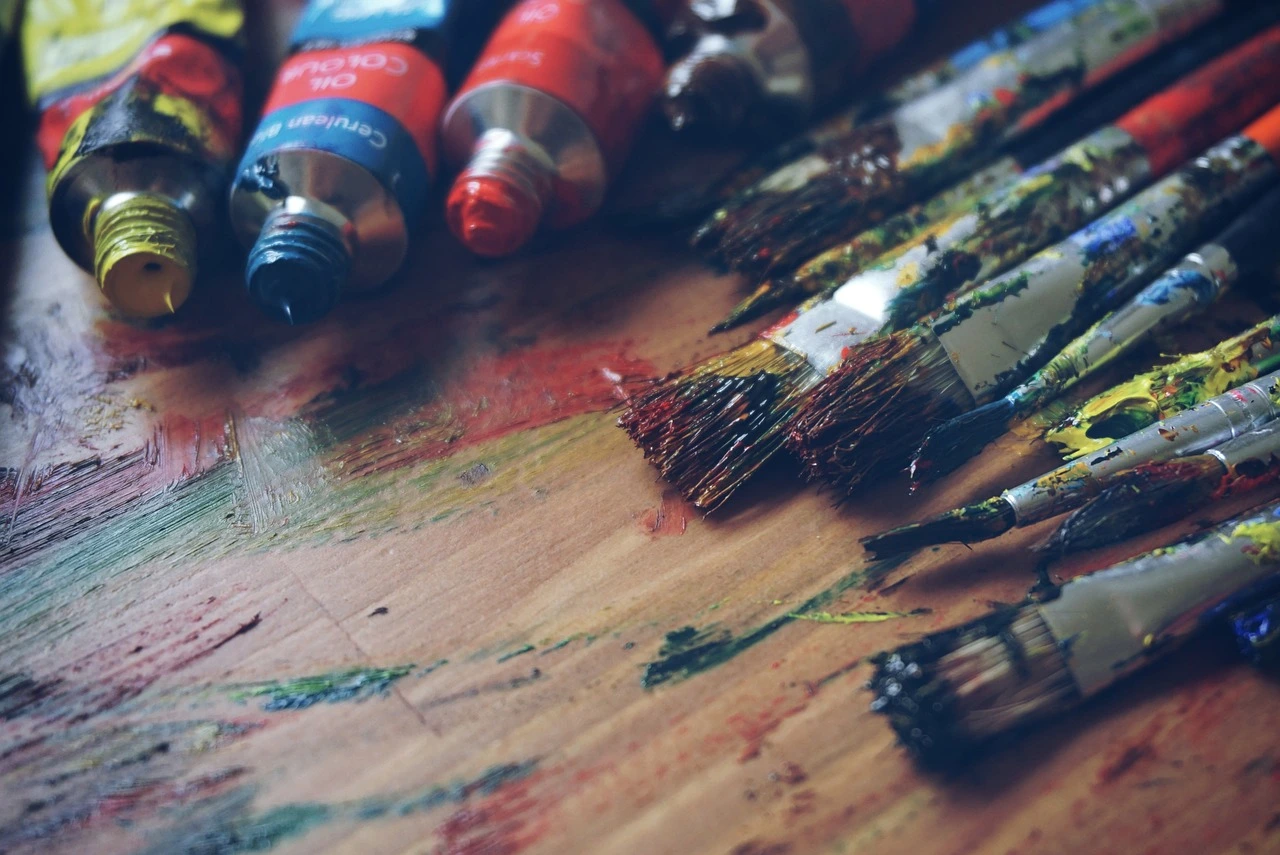
1. Choosing the Right Paint and Supplies (Because Not All Paints Are Created Equal)
The first time I walked into a B&Q and stared at the paint aisle, I had no idea what to pick. Chalk paint? Eggshell? Satinwood? I grabbed a random tin, and let’s just say the results were… interesting.
After testing nearly every type of furniture paint out there, here’s what actually works:
Best Paints for Furniture (UK Brands I Swear By)
- Chalk Paint (Annie Sloan, Rust-Oleum) – No sanding needed, dries fast, and gives that trendy matte look. Downside? You’ll need to wax or seal it afterward.
- Eggshell (Dulux, Farrow & Ball) – Slightly glossy, hard-wearing, and perfect for kitchen cabinets or tables.
- Satinwood (Johnstone’s, Crown) – A step up from eggshell, great for high-traffic pieces like chairs.
- Spray Paint (Plasti-Kote, Montana Gold) – Ideal for small, intricate items (but do this outside unless you want your shed permanently rainbow-coloured).
Pro Tip: If you’re painting over dark wood, a tinted primer (like Zinsser B-I-N) stops old stains bleeding through.
Essential Tools You’ll Need (No Fancy Gear Required)
- Sandpaper – 120-grit for stripping old finishes, 220-grit for smoothing.
- Primer – Oil-based for knotty pine or mahogany, water-based for lighter woods.
- Brushes – A 2-inch angled brush for edges, a mini foam roller for flat surfaces.
- Painter’s Tape – FrogTape is a lifesaver for keeping handles and hinges clean.
- Drop Cloth – Or just use an old bedsheet (like I did until paint splattered my carpet).
Personal Mistake to Avoid: I once used a cheap £1 brush from Poundland. The bristles fell out mid-paint job. Spend a little more on a decent brush, it makes a huge difference.
2. Prepping Your Furniture (The Boring But Crucial Part)
My neighbour once painted her dresser without cleaning it first. Two days later, the paint flaked off in sheets because she missed the layer of furniture polish still on it. Prep work isn’t glamorous, but skipping it is like putting lipstick on a pig, it won’t end well.
Step 1: Deep Cleaning (Get Rid of Grime & Grease)
- Mix warm water with a squirt of washing-up liquid (Fairy Liquid works fine).
- For sticky residue (like old wax or nicotine stains), use sugar soap or methylated spirits.
- Dry thoroughly, painting on damp wood is a one-way ticket to bubbly, peeling paint.
Step 2: Sanding (Yes, You Have To)
- Bare wood: Lightly sand with 220-grit to rough up the surface so paint sticks.
- Varnished/glossy wood: Start with 120-grit to strip the shine, then switch to 220-grit.
- Laminate/MDF: Use a fine-grit sanding sponge (too rough, and you’ll damage the surface).
Confession: I used to hate sanding until I discovered electric sanders. Now I cheat with a cheap Black+Decker one, cuts the work in half.
Step 3: Filling Scratches & Holes
- For dents, use Ronseal Wood Filler. Press it in, let it dry, then sand smooth.
- For chips in veneer, try a two-part wood filler like Polyfilla.
Step 4: Priming (Don’t Skip This!)
- Knotty pine? Use a shellac-based primer (like Zinsser B-I-N) to stop resin bleeding.
- MDF or laminate? A water-based primer helps paint adhere.
- Already painted? A quick sand and a coat of primer will do.
True Story: I painted a pine chest without knot-sealing primer. Within months, yellow stains seeped through like a bad tea spill. Learn from my regret.
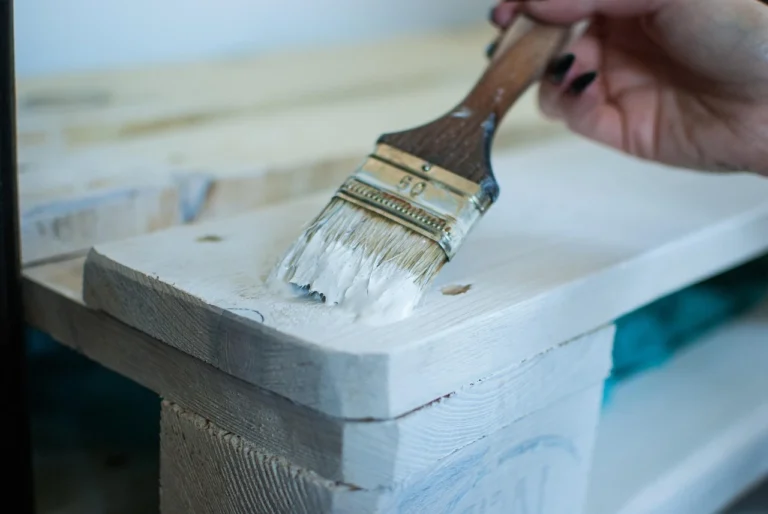
3. Painting Techniques (How to Avoid Streaks & Drips)
My first painted table looked like a zebra, streaky, patchy, and just plain sad. Now, I follow these rules for a flawless finish:
Brush vs. Roller vs. Spray (Which One’s Best?)
- Brushes – Best for edges and details. Use long, smooth strokes (don’t go back and forth like a maniac).
- Foam Rollers – Perfect for flat surfaces (like table tops). They leave fewer streaks than brushes.
- Spray Paint – Great for intricate chairs or metal frames. But always do this outside (I learned this after fogging up my garage).
How to Paint Without Brush Marks
- Thin coats are key. Thick paint = drips and streaks.
- Load your brush, but tap off excess.
- Work in sections, don’t let paint dry halfway through a stroke.
- Lightly sand between coats with 320-grit sandpaper.
How Many Coats?
- Chalk paint: 2 coats (no sanding needed between).
- Eggshell/satin: 2-3 thin coats (sand lightly between).
- Spray paint: 3-4 light passes (holding too close causes drips).
Funny Fail: I once rushed drying with a hairdryer. The paint wrinkled like a prune. Let it dry naturally!
4. Sealing & Protecting Your Work (So It Lasts Years, Not Weeks)
I didn’t seal my first painted desk. One spilled cuppa later, it had a permanent brown ring. Now, I always use a topcoat.
Best Sealers for UK Furniture
- Polyurethane – Tough as nails, but can yellow over time (avoid on white paint).
- Polycrylic (Ronseal Quick Dry Varnish) – Water-based, stays clear, dries fast.
- Wax (Annie Sloan Clear Wax) – Gives a soft sheen, but needs reapplication every few years.
How to Apply a Topcoat
- Wait 24 hours after painting.
- Use a clean brush or foam applicator.
- Thin coats only, thick layers stay tacky for days.
- Lightly sand with 400-grit between coats.
Pro Tip: If brush marks annoy you, use a lint-free cloth to wipe on wax or varnish for a smoother finish.
5. Fixing Common Mistakes (Because We All Mess Up)
Even now, I sometimes rush and end up with a wonky paint job. Here’s how to fix the usual disasters:
Paint Too Thick or Drippy?
- Let it dry fully, then sand down the drips.
- Repaint with thinner coats.
Brush Marks Everywhere?
- Sand lightly with 320-grit, then repaint with a foam roller.
Paint Peeling After a Month?
- Strip it back, sand properly, and re-prime before repainting.
Final Thoughts (You’ve Got This!)
Painting furniture is one of those skills that seems intimidating until you actually try it. My first few attempts were comically bad, but now I can confidently rescue even the ugliest, most battered pieces.
The key takeaways?
✔ Prep properly (clean, sand, prime, no shortcuts).
✔ Use the right paint (chalk paint for beginners, eggshell for durability).
✔ Seal it (unless you want tea stains ruining your hard work).
So grab that sad-looking dresser from Facebook Marketplace, pick a colour you love, and give it a go. Even if it’s not perfect the first time, it’ll still look better than before. And trust me, once you start, you’ll see potential in every scuffed-up piece of furniture.
Now, who’s ready to upcycle?